Hi All,
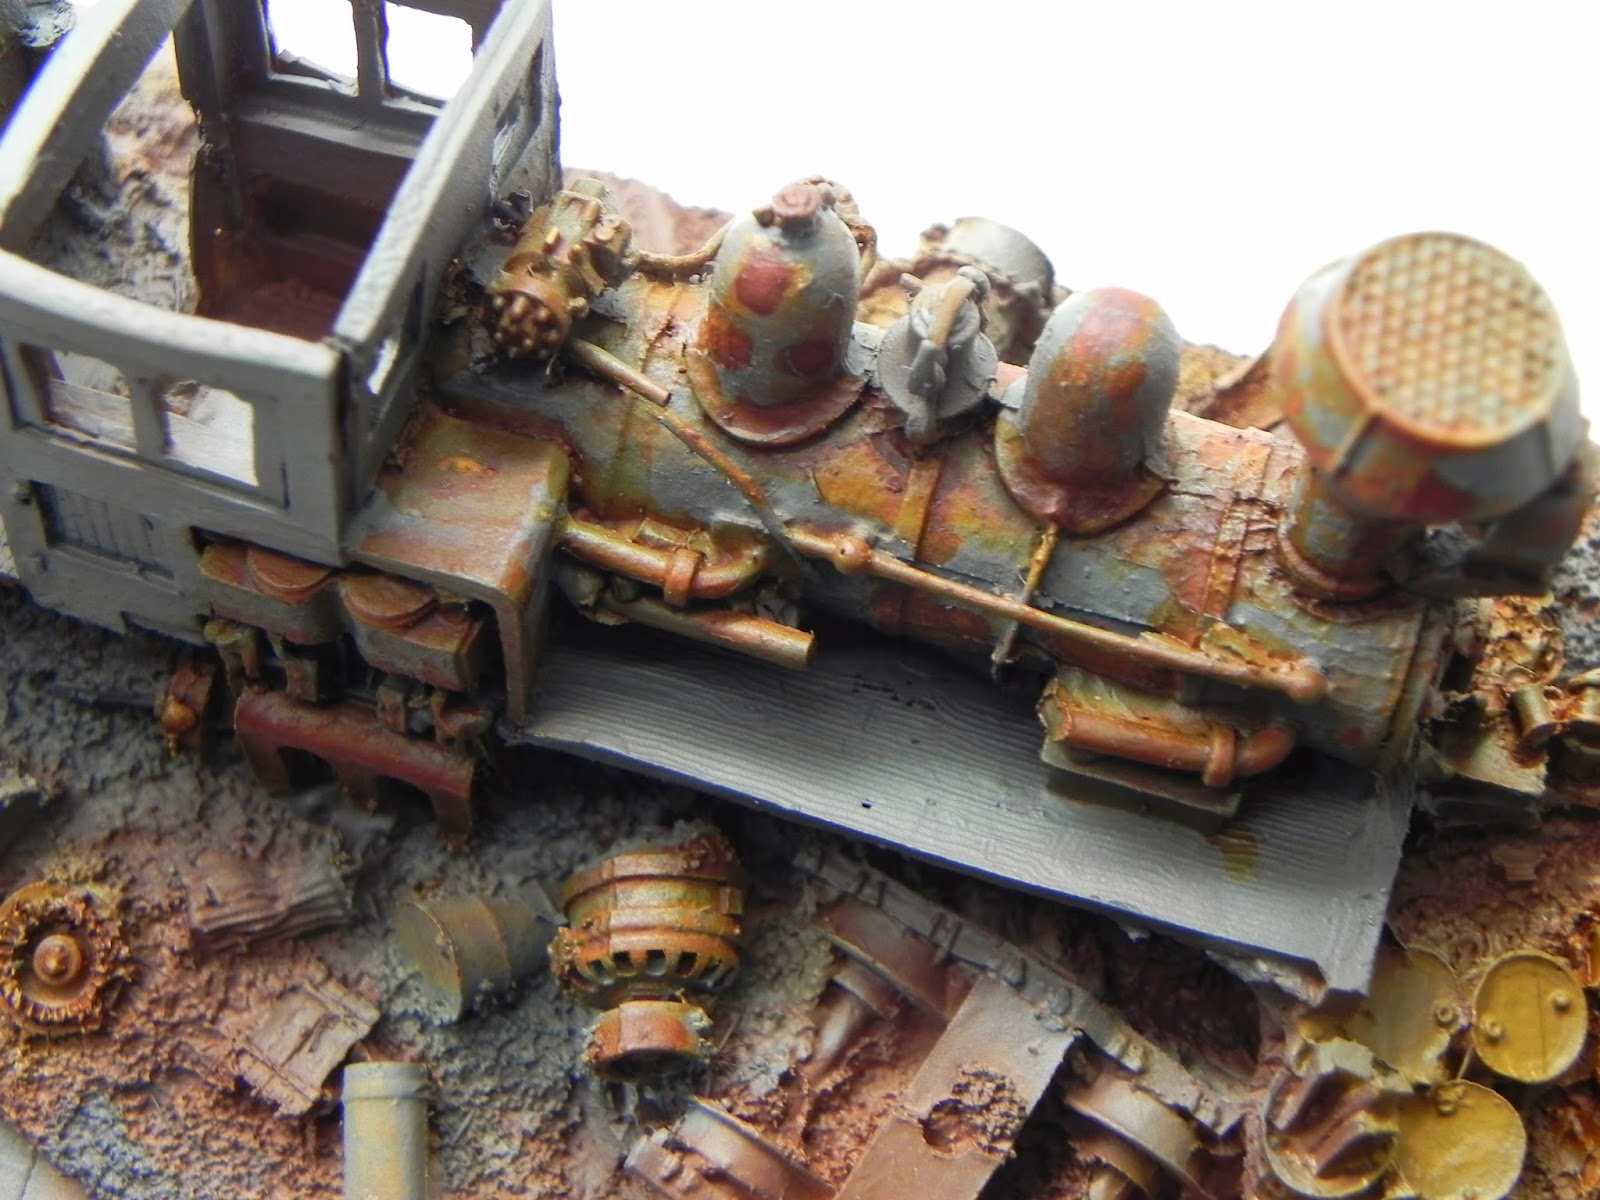
I thought I'd post some progress shots of the weathering of the Shay for the end of the layout. The main reason for the post is to share of the products that I used to get it done. There is along way to go, the most obvious is the cab and running boards. They are timber and are only in the base colour. I have been wanting to try one of the chipping products that are on the market so that is the focus.
The first shot shows the side of the loco. I applied the base rust colour and let it dry. Then once cured applied the chipping coat and let it air dry for about half an hour. Then straight on with the grey top coat.
As soon as it is dry looking it was out with a wet paint brush. You basically apply the water and the top layer of paint breaks up. I have found out a couple of things worth sharing. The first is that you need to be sparing with water as it all happens pretty quickly. The second is that you can use alcohol instead of water. It does dissolve the paint rather than flake it off. You do need to wipe the brush though as you don't want a milky wash over the top of your rust.
The third is that you can let that top coat cure completely before taking it off with the isocol. The side of the boiler has been done in the final way, and I think it looks ok. It does slow down the chipping process which I like.
This last shot is a group of the products I'm using. The model air is the base colour, then the chipping, then a top coat of acrylic (not shown) The vallejo wash on the right has been used in the above photos after the chipping stage. It is easy to use and there are a couple of colours available in their range. The Rustall will be used along with the pulverised clay that is in their pack, great stuff.
There is along way to go, but I thought it worth sharing these products with you. The next steps will be to further weather the metal, then the wood, then work on the base it is buried in. It feels good to post again,
Oorroo!
Geoff.


